Tuesday, June 25, 2013

Splish Splash


WE MADE IT!

Captain's Log, splash date June 20, 2013. With a bit of hesitation she made it in the water. The hesitation came after we picked her up, shortly before lunchtime, and set her in the water with the travel lift. See picture below of her moving from her dry berth via the travel lift towards the water.

I groaned out loud as we did the normal inspection of all thru hull penetrations while she was still hanging in the slings in the lift bay and found that one of the original 40 year old thru hulls was leaking (into a nice clean bilge anyway) see photo below.

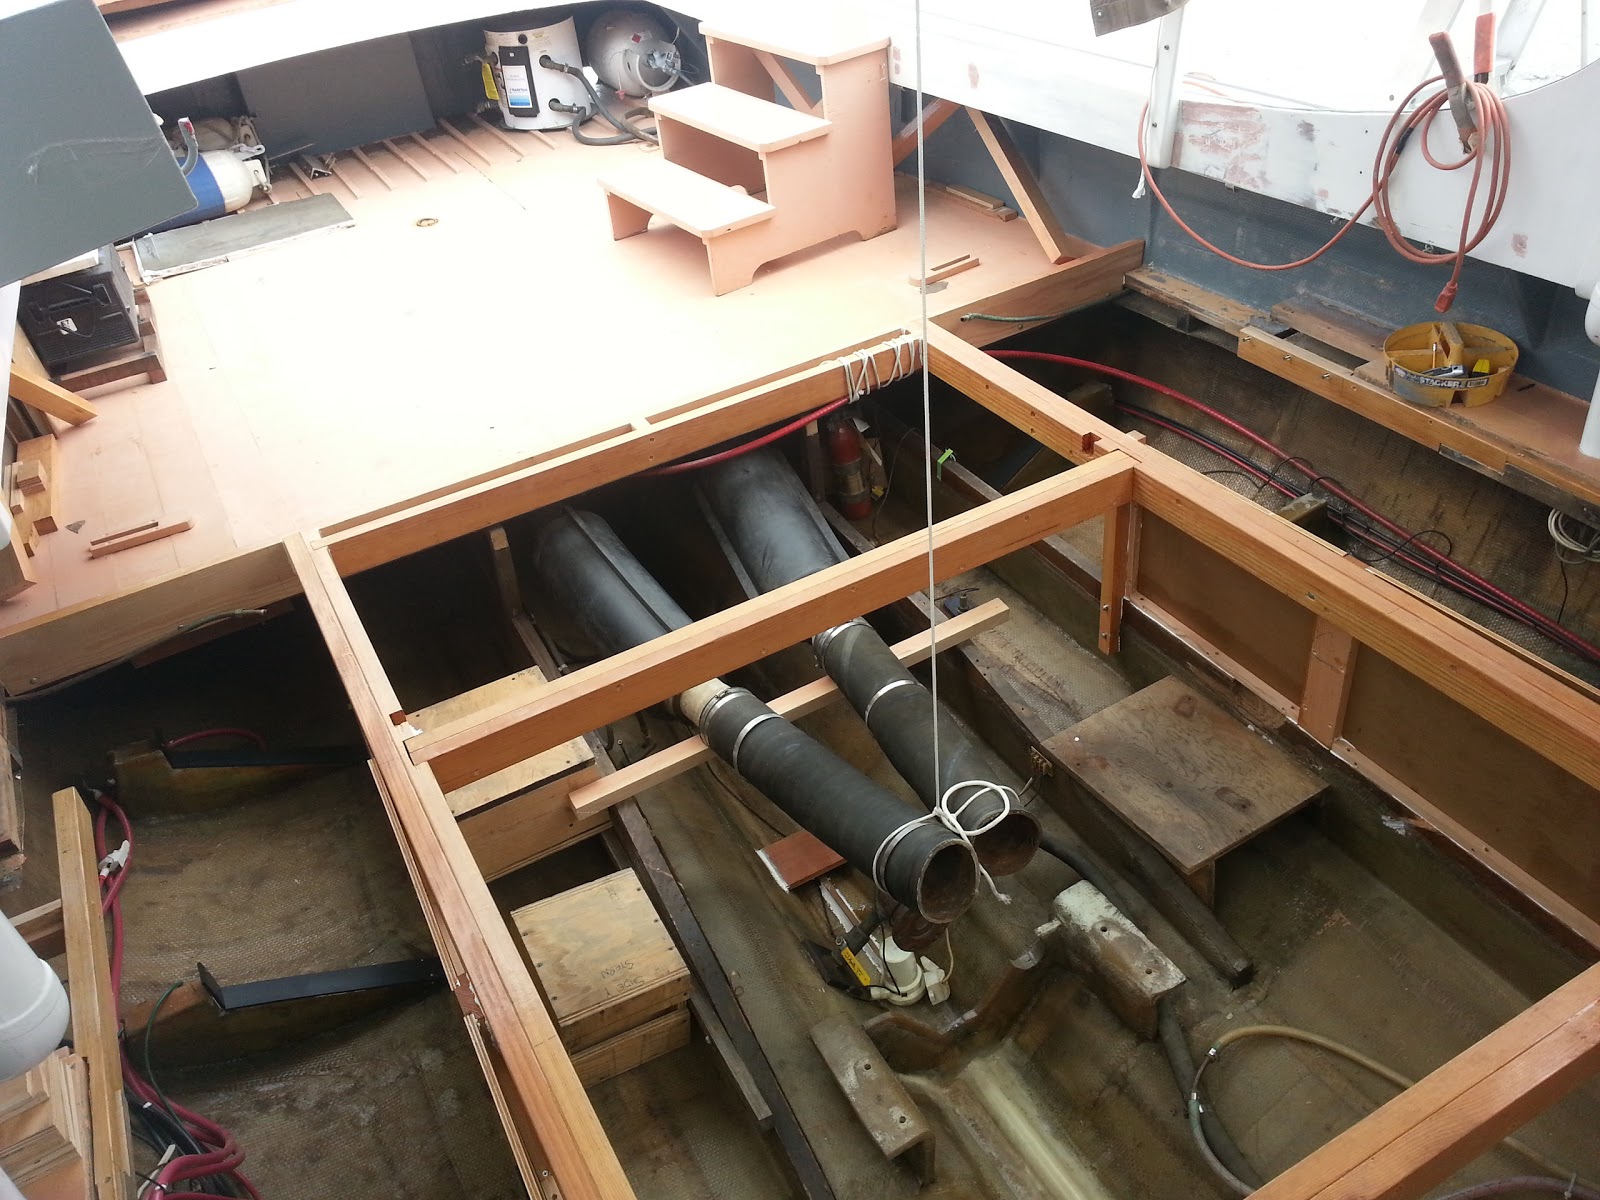
So out she came to have the situation remedied. We left her hanging in the travel lift for a couple of hours while the old thru hull was removed to be re-bedded with fresh caulk. This thru hull assembly consists of three parts, a threaded fitting that goes through the hull, a valve that screws onto it from the inside, and a plywood backing plate that is sandwiched in between the two on the inside of the hull. We could not unscrew the valve from the threaded fitting so we had to cut the old one out with a sawzall reciprocating saw, see photo below of the result as viewed from the outside.

Joe Reid made pretty quick work of the process and once the threaded fitting was cut away he could take the pieces that were stuck together into the shop and put the valve in a bench vise and unscrew it for reuse on a new threaded fitting with a new plywood spacer. While he was doing that, my mechanic, Keith, and I removed the dead engine start battery and I took it to the Battery Warehouse to get a new one. Yea, that battery had shown life all winter but sat for a month off the charger while work was being done and it died. So $185 lighter of pocket I returned with a new battery. This was no mean feat as this was an 8D wet cell battery that weighs over 150#, we had to lower it from the boat onto the ground with some skinny rope and I have the rope burn on my right hand to prove it. We were smart enough to wait until the boat was back in the water before we placed the new one aboard. Much easier to move the battery sideways from the ground onto the deck than to lift it up seven feet in the air.
So once that fire drill was done it was off across the harbor via a tow boat to get some new, fresh fuel.
After fueling up we towed her back across the harbor and resumed working on her, the engine work was not yet complete and the platform hatches that cover the engine were still being adjusted for a final fit. By the end of the day Keith had run the engine "pretty good and pretty hard" for 3/4 of and hour and pronounced her ready for sea! It took the rest of the day on Friday to complete the engine hatch installation and it took me the rest of the day and into the evening on Saturday to finish up some other tasks, like connecting the head to the holding tank, installing the running lights and connecting the forward water tank to the head intake to provide a dedicated fresh water rinse. After loading the boat with supplies she was ready to make her maiden voyage eight miles away to Galesville for the annual Summer Solstice Raft Up. The weather at the marina was clear and the wind moderate so I fired her up and left the dock at 9PM bound for the aptly named Galesville. Aptly named as I discovered because once I left the harbor and headed out the mouth of the South River and into the bay the seas quickly began to rise and the wind began to carry a fair amount of spray into the pilothouse. The water was warm and felt good to be out at last but later I wished I had taken the time to close the windows. I was preoccupied with drinking a victory beer, keeping course and taking some engine data readings: boat speed, engine rpms, oil pressure, water temperature and sound pressure level readings when I got my first reminder of how quickly things can change on the bay, whoosh came the solid green water over the bow, over the forward cabin house and in through the pilothouse window whisking my beer off the shelf and drenching me. OOOOOkay, this is going to be an interesting shake down cruise. I should have started this story off with "it was a dark and stormy night". It was too rough to stop and close the windows and if I had the spray would have obscured my vision through the glass because I had not yet completed the windshield wiper installation so I just had to soldier on with the window open. I also discovered in this adventure that wet hands on a wet cell phone screen disable the touch and swipe feature that you need to use to make the phone work and in this case I was using a navigation app on my cell phone to help find my way in the dark. Gee, now I really, really wish I had finished the windshield wiper installation. But, all's well that ends well and as this was not unfamiliar waters for me I was able to feel my way around Saunders Point Shoal into the West River and into the harbor at Galesville. Here is a chart of my route. Note the wind direction over the three shoals. The steady 18 knots gusting to 24 and running against the outgoing tide and flow of the South River are what really bumped up the wave height beyond the reported 2 ft waves from the weather buoy off the mouth of the Severn River.
And here we are the next morning, thanks to Emerson for the impromptu photo of me tied up at the end of the raft.


Still lot's to do, the platform hatches have to be finished, the potable fresh water tank plumbed into the system, THE WIPERS REALLY NEED TO BE FINISHED, the new chartplotter installed, fans wired, bug screens fabbed and an autopilot is really looking more important too so that I can take my hand off the wheel long enough to pick up the empty beer can off the floor and replenish it with a full one. But in any case, I am in the water and look forward to a nice summer of calm seas and fair winds. Thanks to all who have taken the time to visit my blog. That's it for me and my blog, farewell all.

Dennis

Monday, June 3, 2013

Activities for May 2013

THE NEW FUEL TANKS ARE HERE!!!!!!!
The Dragon Lady is still high and dry but I am glad to say that I have less gooey and more newey to report on. The surface for the new platform has been roughed out, the tanks are set in place, the new windows are in, the wiper motors are set, there is new paint in a lot of places inside and out and some nasty hose clamps that were VERY difficult to gain access to have been replaced. Photos of all these with short comments follow.

The plywood panels for the new platform are cut to fit. Now they can be removed and the edges sealed with hardwood frames, coated in epoxy; final fit up to be followed by hinges, lifting hardware and paint. The platform should be done by mid June.

Old Platform

New Platform

This is the newly painted transom, I have my friend and old BAC workmate Carl Treff lined up to pop on the new vinyl lettering sometime this week.

The windows that I built have been painted and are now installed. The paint is finished on the top of the pilothouse and coach roof and I have mounted the horns.
Here, the new hatch adjusters have been installed so the windows are now fully functional. I only need to paint the Ipe adapters that I crafted so that they match the bright white interior.

Here is a close-up of the hatch adjuster from the inside and the Ipe adapter that I made. Those dark clouds in the background poured rain about ten minutes after this photo was taken and guess what, no leaks!


Here is a poster child photo of what a common carbon steel screw looks like on a stainless steel hose clamp. This and the four other screws on the exhaust hose were VERY easy to remove, I simply touched them and they fell off.


This is where they were located, not so easy to get to. There is no room to squeeze down there between the exhaust pipes on either side of the rudder post. I could only look at them or touch them but not look and touch at the same time!

Here is a photo taken with the new clamps in place. I was able to remove the old clamps on the right but the two old ones on the left are still in place, minus the rusty clamp screws. Eventually they will loosen and I can remove them but in the meantime my two new clamps on either side of the old ones are doing the actual work.
Here is a detail photo of the clamps and the rusty screws.

Also difficult to access were the stuffing box hose clamps. You could either crawl down between the two black plastic exhaust mufflers
and wiggle over the shaft and the greasy sleeve bearing
and finally touch the stuffing box! At least somebody cleaned up the bilge...
Or you could crawl from the aft access hatch over the rudder bearing shown in the back of this photo
In any case, once wedged in here I got great access to touch and feel the stuffing box as it was only a few inches from my face. In this photo I have replaced the one clamp on the right, it came off easily. The other four were another story. The head of the screw broke off of the one on the far left, the other two had to be cut off with a dremel tool, inches from my face with sparks flying, whoohoo!
Here they have been replaced
 Thanks to some of these tools
and here is what both of my forearms looked like after I was done, how I love this boat!

Okay, how about some nicer pics? Like some more new paint


Ahhhh, that's better.
And new wiper motors
and the bright shiny inside of the fuel tanks, ain't that special...
and some new fresh water and waste water holding tanks


Okay, so one last ugly issue, the rudder, it is still stiff, not frozen, but really, really stiff. The big stick on the end of the rudder is what we are using to move it, with some effort.
The yard disconnected the steering cable but the rudder was still stiff. I put multiple applications of WD40 and PB blaster and whatever other lubricant anti-seize stuff I could lay my hands on but to no avail. I did, however get the stuffing box apart with the help of a small hammer and a special shortened pipe wrench provided by Mike Johnson. As you can see, there was not enough room to swing a regular pipe wrench or one with an extension, those are the time tested methods of breaking free a frozen connection such as this, that is what the yard tried without any success. Mike suggested that I try his wrench and BINGO!

Still, the rudder is not moving any easier so we are taking it apart, bit by bit to find the culprit. It is a bronze shaft to bronze sleeve fit, top and bottom so one or both of those are likely stiff from sitting too long without any universal lubricant (water) to aid in movement. I am sure in the next week or so we will have fixed this.

And now for the finale....A really cool find by me (if I do say so MYSELF) on one of my occasional internet searches, check this out, a photo of MY boat from 1974, two years after it was launched, with notes from the photographer regarding the owner, Bob Hitchcock, the boat speed, engine rpm, running gear and even the fact that the water tank in the bow was empty, and she was doing 20 knots!  Way beyond my expectations. In any case a nice photo too, is she sweet looking or what?

Okay, that's it for now, hopefully the next post will be of photos of the boat in the water with me at the helm. Cheers to all and thanks for reading my posts.

Dennis


Tuesday, May 7, 2013

Update for Activities in April

The view from my cockpit looked like this for several days, several times this past month, nice boats but lousy weather.  The boat on the left is named Sawdust and is one that Joe Reid of Mast & Mallet Boatworks built about ten or fifteen years ago. Joe is heading up the restoration of my boat. The sailboat on the right is a 36' Herreshoff Nereia ketch named Fandancer and is well known as a fast and well maintained wooden yacht.

You will also note that I am still high and dry instead of floating in my slip. In mid April I finally completed enough cleaning in the engine bilge and around the fuel tanks that I had to come to the conclusion that the fuel tanks must be leaking. So I approached Joe Reid and presented him with my conclusion that the fuel tanks were leaking and that were were going to have to pull them and replace them with new ones. Up until this point we thought that the diesel smell was from 40 years of dirt and minor drips that had accumulated. The tanks seemed to be full after sitting for 3 years and we could not be sure that the moisture coming from the weep holes under the tank bilges was from an active fuel leak or possible just condensation that was picking up some fuel/oil from the grunge that we could see. By mid April I did some more thorough cleaning and was able to conclude that the tanks were leaking, not much, but leaking, so out they must come. This process involves a bit more excavation of the bridgedeck and removal of a larger portion of the cockpit sole or more correctly, the platform.
Here is a photo of the bilge in front of the tanks before cleaning. That is the front face of the tank on the left and somewhere under the grunge is the weep hole that lets the condensate flow from here into the main bilge under the engine.
And after...
Another before pic, that is the bottom edge of the front face of the tank on the left
After
Here is a photo of the platform after further excavation to remove the tanks. You can see that big cut outs on either side of the original engine access area.
This is what we found behind and underneath the port side tank, this fuel and gunk was (almost) totally trapped in areas that could not be seen until the tanks were removed, the pool of fuel in the first photo is about 1" deep and extended five or six feet aft

 After the tanks were lifted the fuel drained into the engine bilge that I had cleaned twice before, rats!
 This is the junk that was under the port tank

 This is the junk under the starboard tank, not nearly as much fuel as the port side
 but still lots of crud soaked with fuel

Sooooo, this has caused a significant delay in the original plan to launch in late April. It will take a couple of weeks to have the tanks made and shipped and another week or so to get them installed. As such, I have directed Joe to have Brett and Kitty do some of the work that I had planned to do later this year or next. Brett will be building the new raised portion of the platform which will be expanded aft a bit more and he will be adding some additional hatches aft of the engine. The additional access will also allow me to more easily fit some new tanks for fresh water storage and a new larger holding tank for the head.
Here are some photos of the models that I made for the new holding tank and fresh water tank.


These new tanks have been ordered and will be installed by yours truly, it will take 2-3 weeks before I have the tanks and another week or so before I am finished with the installation so my new launch target will be mid June.
In the meantime, some other work has been done, the new windows that I had not planned to make are done and will be installed after Kitty has finished painting the exterior of the pilothouse and coachroof.

Some photos of that work is here. This is the coachroof in the foreground. It is sanded in preparation for painting. The white spots are fairing compound that shows where repairs were made.

This is with two coats of paint.


While Kitty was getting the exterior ready for painting I removed some of the old studs for the pilothouse canvas. What nightmare this turned out to be. The studs that were screwed into the side of the pilothouse would snap off with the slightest pressure so this meant that I had to drill out most of them and plug them with permanent wood plugs. I have come to find out that this is not an unusual problem. Apparently the layer of fiberglass that covers the wood underneath acts like a fulcrum compared to the softer wood underneath. Some photos below.

This is what the stud looks like when installed.

Here are the holes that I had to drill in order to remove the broken studs. The blue tape shows where studs were successfully removed. The 3/8" holes that I drilled have been filled with wood plugs, glued in place, to allow for a new stud to be installed.

Here is detail photo of the hole that I drilled, you can see the outer layer of fiberglass with the wood beneath.

Below is a photo of my solution to make subsequent removal of the studs less stressful and more successful. I modeled a different installation method, here I show the result of using a thread tapping tool for making threads in metal parts. This will allow the threads to fit more uniformly with a more uniform load instead of the force fit that results from a wood screw that is forced into an undersized hole. It seemed to work well in a hard piece of mahogany so it should work better next time around by reducing the stress around the threads where it penetrates  the fiberglass skin.

I also have begun painting and finishing out down below. Here the stowage space that I built below the fridge has the new doors in place. I made them with the swimming fish cutouts to match the existing doors elsewhere in the cabin.

Here I have installed the new liquor locker shelf.


And the new port side galley shelf is also installed and being put to use during construction.

I have also completed the refinishing of the companionway door and the overhead hatch above it. I will reinstall these as soon as the new platform is completed later this month.
Before

After

Before

After

refinished helm seat

I also installed a new bilge pump sump box to collect the condensate from the fridge as well as water from the shower drain.

And I had Brett add a tunnel under the engine that will make that area act as a drip pan for engine drips of oil and coolant that always seem to happen.

So in summary, there has been activity and progress but more in the nature of two steps forward, one step back. I will post again next month with more groovy stuff.

Dennis